|
Download Members: $0.00 Non‑Members: $75.00 |
Buy Now |
Publication Details
| Published Date: | |
|---|---|
| Authors: | M. Kaestner, R. Gilllhaus, E. Reithmeier |
| Company: | CMSC |
| Print Format: | Technical Paper |
| Citation: | M. Kaestner, R. Gilllhaus, E. Reithmeier, "Geometry Inspection of Precision-Forged Crank Shafts Based on Optical Multisensor Techniques," The Journal of the CMSC, Vol. 4, No. 2, Autumn 2009 |
Abstract
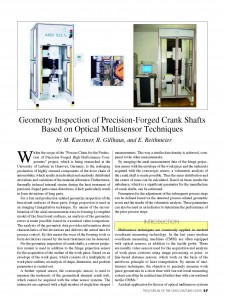
Within the scope of the “Process Chain for the Production of Precision-Forged High-Performance Components” project, which is being researched at the University of Leibniz in Hanover, Germany, is the reshaping production of highly stressed components of the drive chain of automobiles, which results in individual and randomly distributed deviations and variations of material allowance. Furthermore, thermally induced internal strains during the heat treatment of precision-forged parts cause distortions, which particularly result in form deviations of long parts. For a fast and production-related geometric inspection of the functional surfaces of these parts, fringe projection is used as an imaging-triangulation technique. By means of the recombination of the areal measurement data in forming a complete model of the functional surfaces, an analysis of the geometric errors is made possible, based on a nominal value comparison. The analysis of the geometric data provides information about characteristics of the deviations and delivers the actual data for process control. By this means the wear of the forming tools or form deviations caused by heat treatment can be detected.


